Office Organization Tips: How to Keep Your Workspace Clean & Productive
Boost productivity, reduce stress, and create a healthier work environment with these proven strategies
The main purpose of maintaining health and safety procedures in the workplace is to ensure that your organized office can absorb incoming work without creating undue pressure on your mental and physical wellbeing. A clean desk reduces workplace stress while enhancing safety—and it all starts with implementing the right organization strategies.

✨ Benefits of an Organized Office
Accomplish more tasks in less time with everything in its place
A clutter-free space promotes mental clarity and calm
Clean environments reduce germs and improve wellbeing
Hire Professional Office Cleaning Services
No matter how organized you are, you'll need professional cleaning services to vacuum floors, upholstery, and difficult places that are overlooked during daily organization. Commercial cleaning involves anti-bacterial and anti-fungal materials that kill germ spores affecting mental health and workplace wellness.
Pro Tip: Schedule thorough maintenance cleaning every 6 months for optimal health and safety.

Create a Convenient "Catch-It" Space
Every office needs a designated catch-it space for incoming items. This area catches three types of things: important documents and files, personal stuff (umbrella, coffee mug, jacket), and actual junk to discard.
Location Tip: Place your catch-it space in the most obvious area—like to the right of your door. Include a tray for documents, hooks for personal items, and a trashcan for junk.
Use Drawers and Organizing Trays
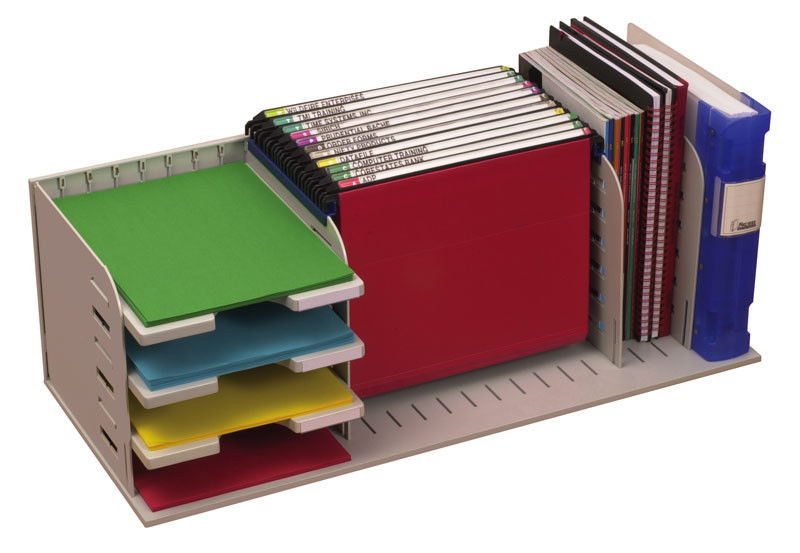
One of the most important steps is ensuring all physical items are well-organized and out of sight. Be a minimalist—strip down your office possessions and keep them in accessible but hidden places. Avoid temptations like keeping decorative paper clip holders or tape dispensers on your desk.
Document System: Keep two trays on your desk—one for urgent/important tasks, another for completed tasks.
Get a Larger Trash Can
This may sound silly, but even professional cleaning companies recommend it! Most papers coming into your office can be digitized, filed, or discarded. A larger, more visible trashcan makes you think about it more often—so you're more likely to discard papers you're unsure about rather than letting them pile up.
Clutter Rule: Health and safety regulations recognize that cluttered environments reduce productivity and must be addressed.
🧹 Need Professional Office Cleaning?
Long Island Maids provides thorough commercial and home office cleaning services to keep your workspace spotless!
Book Your Cleaning →Create Two Distinct Zones
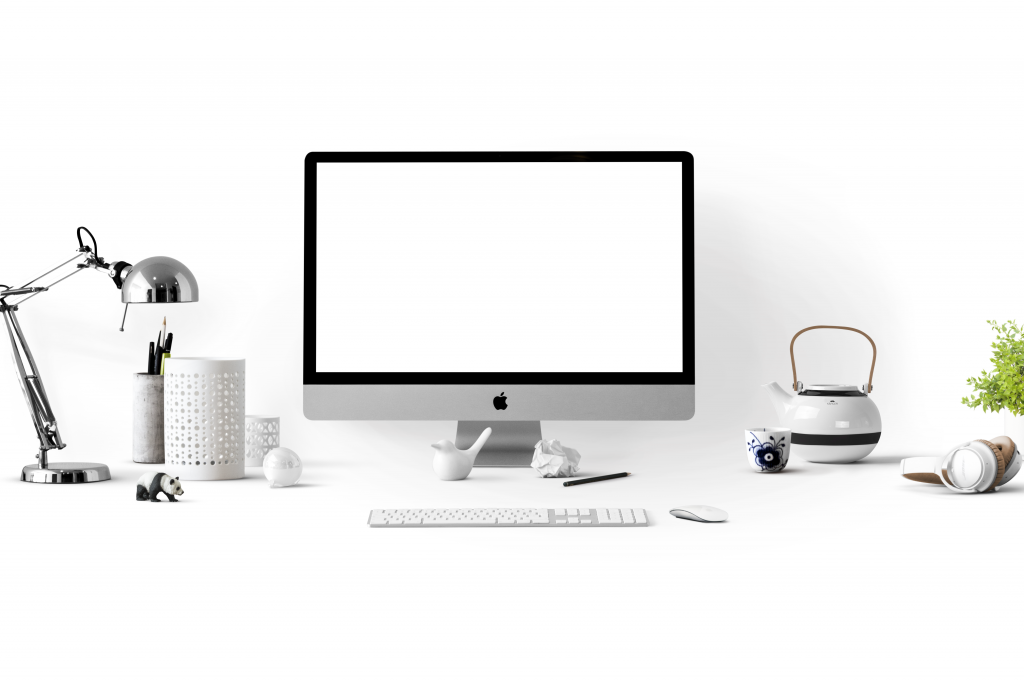
Consider separating your workspace into a computer zone and a non-computer zone. The computer zone is where your desktop/laptop lives—where you spend most of your time. The non-computer zone should be cleared of cords, chargers, and monitors, but may include documents and paperwork.
Desktop/laptop, monitor, keyboard, mouse, chargers, cords
Documents, notebooks, reference materials, planning tools
Keep the Desktop Clear
A cleaning company can only temporarily rearrange your desktop—it takes discipline and dedication to keep clutter away permanently. Since your desktop is the most important area of your office, you need constant practice maintaining it. You cannot thrive in disorderliness!
Daily Habit: Spend 5 minutes at the end of each day clearing your desk and returning items to their proper places.
🛠️ Essential Office Organization Supplies
🎯 Key Takeaways
There are countless office organization ideas, but it takes constant practice to get used to them. The most important step is avoiding procrastination—it helps you spend time doing the right thing at the right time.
Schedule professional cleaning every 6 months
Create a dedicated "catch-it" space
Keep supplies hidden but accessible
Use the two-zone approach
Clear your desktop daily
Invest in a larger trash can
A clean office increases productivity—you can accomplish more tasks in the same period, leading to increased ROI (Return on Investment). You may not understand the value of staying organized until you appreciate the benefits of a clean, well-organized workspace.
✨ Ready for a Spotless Workspace?
Let Long Island Maids handle your office or home office cleaning with our professional deep cleaning service!
View Our Services →