Serving Nassau, Suffolk & The Hamptons
Long Island House Cleaning You Can Rely On
The same trusted cleaner every visit. Transparent pricing with no surprises. Locally owned since 2013 — not a franchise, not an app.
*Starting price for recurring cleaning service

Consistent Staff
A familiar team caring for your home.
W-2 Employees
Trained employees, not gig workers.
Real Support
A real person to help.
Transparent Pricing
Clear pricing before you book.
As Seen In



Our Services
Find The Right Cleaning For Your Home
Every home starts with a detailed first cleaning. From there, we help you maintain a cleaner, healthier home with ongoing service that fits your routine.

Deep Cleaning
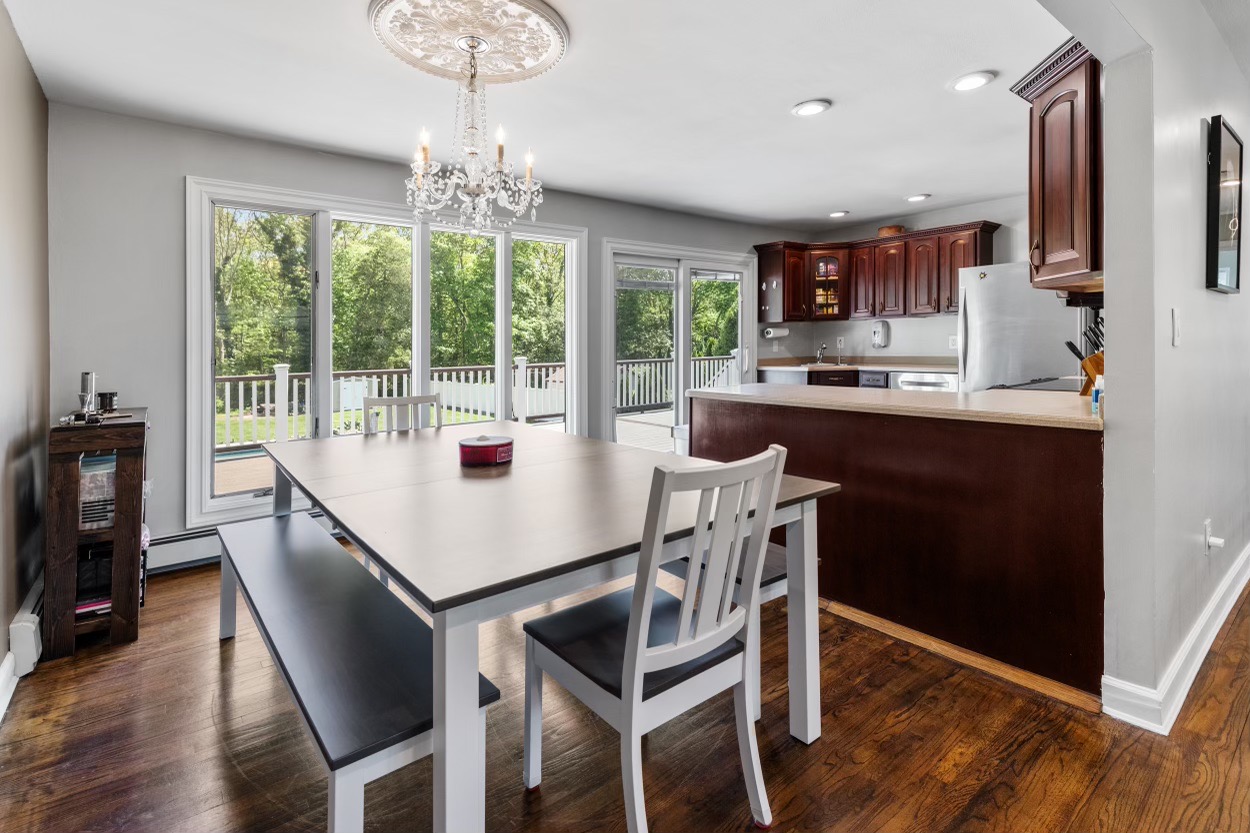
A detailed top-to-bottom cleaning that creates a fresh baseline for your home. Whether you have never hired a cleaner, are switching providers, or simply need a reset, this is where every Long Island Maids customer begins.
Perfect for:
Recurring House Cleaning
After your first deep cleaning, continue with weekly, biweekly, or monthly visits from a trusted cleaning professional. Your cleaner learns your home and your preferences - consistency you can count on.
Perfect for:
What's Your Situation?
Choose what best describes you, and we'll show you the right service.

Moving Into A New Home?
Move-In Cleaning
Start fresh before unpacking. We help make your new home feel clean, comfortable, and ready from day one.
Learn More
Leaving A Home?
Move-Out Cleaning
Leave your space spotless and ready for the next chapter.
Learn More
Finished A Renovation?
Post-Construction Cleaning
Remove construction dust and debris so your updated space can finally feel complete.
Learn More
Managing A Rental?
Airbnb & Rental Cleaning
Reliable turnovers that help create five-star guest experiences.
Learn More
Caring for Our Long Island Neighbors
As a proud partner of Cleaning for a Reason, we donate free home cleanings to Long Island families battling cancer. It's one small way we can lift a burden during life's most difficult moments.
Learn how we give backReal Reviews
What Long Island Homeowners Are Saying
Verified reviews from Google, updated in real-time.
Reviews synced directly from our Google Business Profile

Locally Owned. Personally Involved.
Shannon Xerri stays personally involved, giving you a clear point of contact for questions, feedback, and anything that needs attention.
Shannon Xerri · Founder
Meet ShannonOwner-Operated
Direct involvement from founder Shannon Xerri.
Locally Owned
An independent business serving Long Island.
Long Island Experience
Caring for local homes since 2013.
Community Support
Proud partner of Cleaning for a Reason.
Meet Your Cleaning Team

Maria

Vilma

Monica

Rosa
Your Dedicated Cleaning Team
A Familiar Face In Your Home
You deserve to feel comfortable with the person caring for your home.
Whenever possible, recurring customers are matched with the same cleaning professional so they can become familiar with your home, your routines, and the details that matter.
Same Professional, Every Visit
No random strangers — the same trusted face whenever possible
They Learn Your Details
How you like things arranged, where items belong, what matters to you
Real Accountability
A local Long Island company, owner-operated since 2013
Our Standards
How We Ensure Quality, Every Time
Trust is not given — it is earned through consistent, professional service.
Every team member goes through a thorough vetting process before ever stepping foot in your home. We do not cut corners on who we hire or how we train.
We treat your home the way we would want ours treated.
See My PriceThorough Vetting
Background checks, reference verification, and in-person interviews before anyone joins our team.
Professional Training
Every cleaner learns our methods, product protocols, and attention-to-detail standards.
$2M Insurance
Fully insured and bonded. Your home and belongings are protected.
Quality Assurance
Regular check-ins and feedback loops ensure consistent results visit after visit.
Our Re-Clean Guarantee
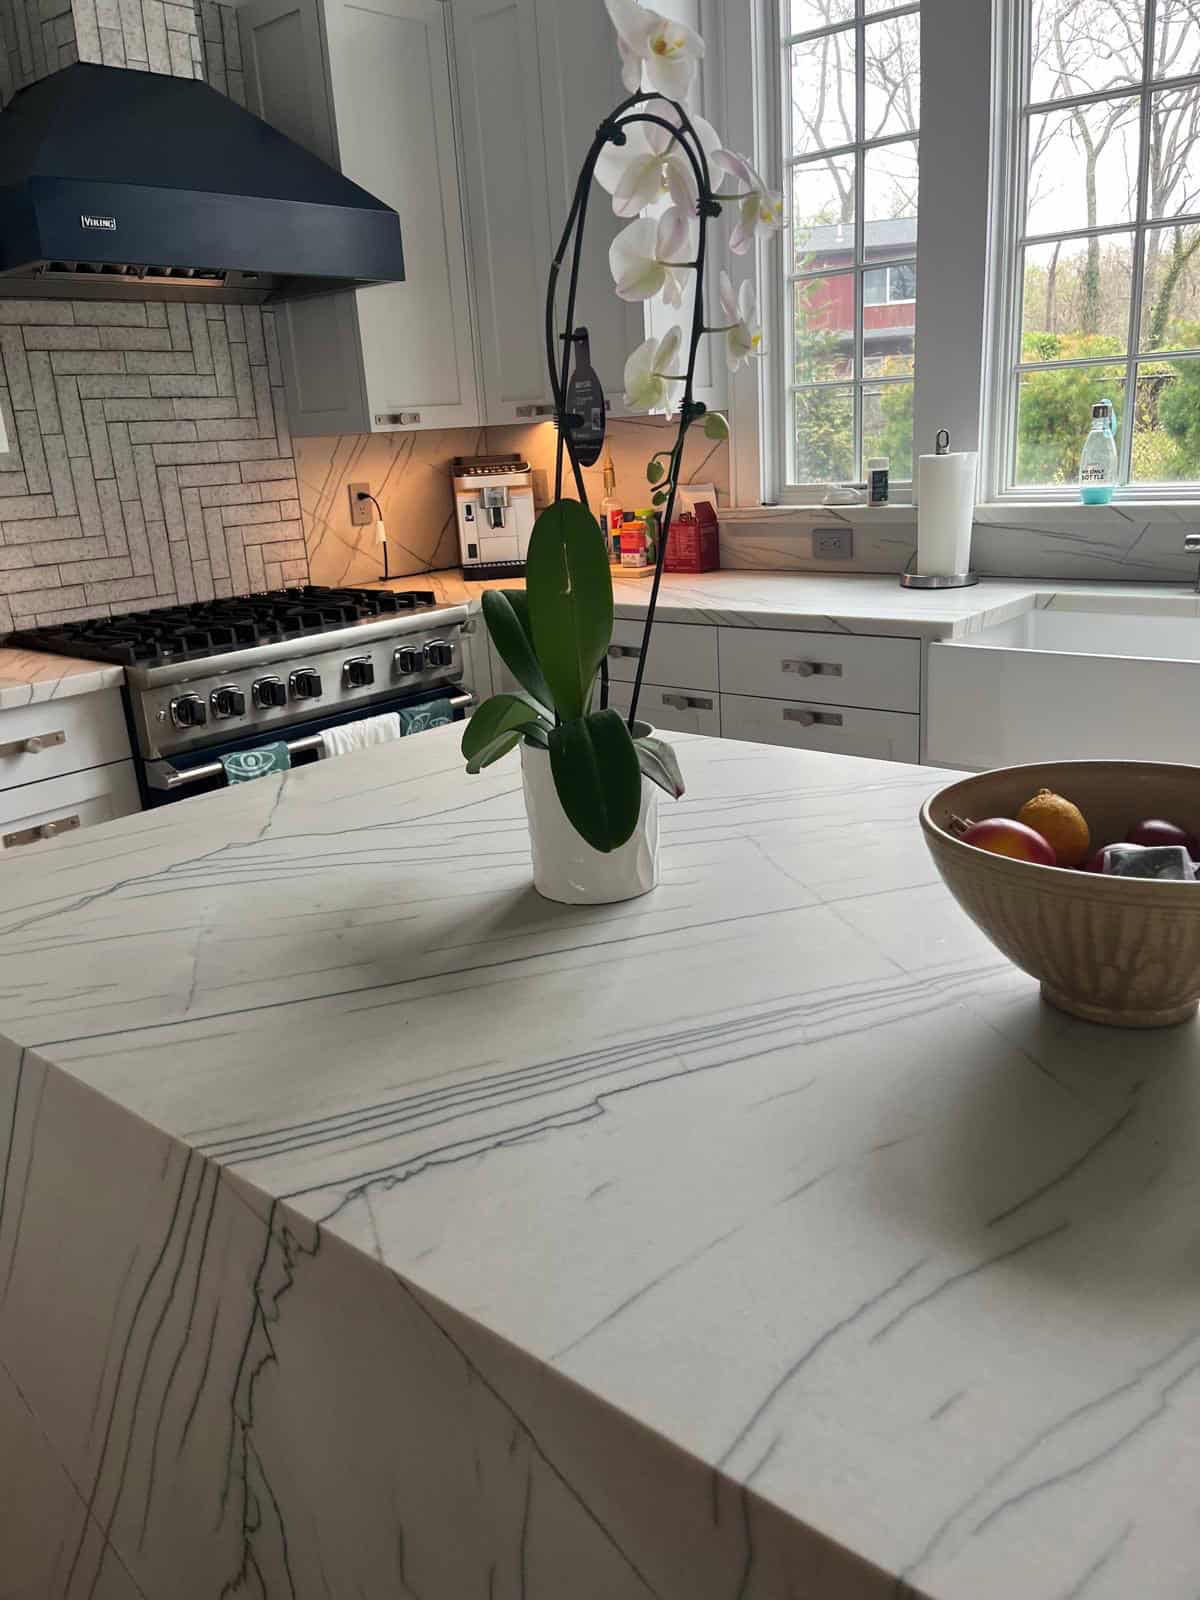
Our Re-Clean Guarantee
Your home should feel fresh, comfortable, and cared for every time you walk through the door.
Report cleaning concerns within 24 hours after service. Our guarantee covers re-cleaning the affected areas.
Because caring for your home means more than just cleaning it.
View guarantee details →Live Reviews
More Customer Feedback
See what customers are saying, updated in real-time.
Questions & Answers
Common Questions About Our Service
Here are the questions Long Island homeowners ask us most.
Will I have the same cleaner every time?
Yes! We assign the same professional cleaner to your home for every visit. They'll learn your preferences and deliver consistent results. If for any reason your regular cleaner is unavailable, we'll notify you in advance.
How do I get a price?
Simply use our online booking form. Answer a few questions about your home (size, bedrooms, bathrooms) and you'll see your exact price instantly — no waiting for a callback, no hidden fees.
What if I'm not satisfied with the cleaning?
Report cleaning concerns within 24 hours after service. Our guarantee covers re-cleaning the affected areas. View guarantee details →
Are your cleaners insured and background-checked?
Absolutely. We carry $2 million in liability coverage and every team member undergoes a thorough background check before joining our team. Your home and belongings are protected.
Do I need to be home during the cleaning?
No, you don't need to be home. Many of our customers provide a key, garage code, or lockbox access. We'll confirm entry instructions when you book.
What's included in a standard recurring cleaning?
Our recurring cleaning covers all the essentials: dusting, vacuuming, mopping, kitchen cleaning (counters, appliances, sink), bathroom cleaning, and general tidying. We can customize based on your specific needs.
Check If We Serve Your Area
We clean homes throughout Long Island — Nassau County, Suffolk County, and the Hamptons.
Auto-checks when you enter 5 digits

Imagine more freedom...
With Long Island Maids, you can.
Imagine the possibilities when your weekends and evenings are free from cleaning chores. Picture yourself doing more of the things you love, whether it's getting in more time at the gym, reading a book in a spotless living room, or simply enjoying quality time with loved ones.
Book From $186*Starting price for recurring cleaning service